Table of Contents
Day Fifteen
I’m enjoying the Anime model course. The topologies I’m creating in the course are much more complex than what I was making in the low poly course. The course provides guide images to follow that have the lines from the mesh visible. A lot of the course is simply following along the guide images. I won’t have the same guides for modeling my friends, which will make it harder to generate the models. In order to see if modeling my friends from scratch in this style is an option, I decide to take a shot at creating one the my friend’s faces. I creep his Facebook profile and find a couple of images I can use as rough guides, and after a bit of work I have my first draft of his facial topology complete.
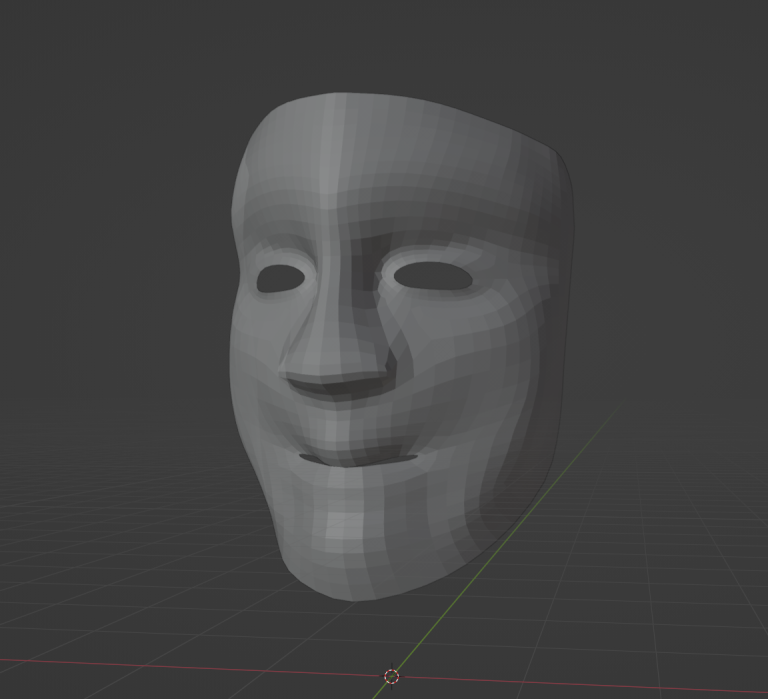
Since it’s my first attempt, I’m actually pretty happy with the results. I think I managed to model a pretty decent topology for how inexperienced I am as a modeler. Unfortunately the face doesn’t look that much like my friend. Or at least it doesn’t look enough like him to make up for the amount of work that went into it. And this is just the face! For the game, I’d still need to do the rest of the head, the entire body, clothes, hair, etc. I come to the conclusion that I don’t have the time (or skills) to do the entire model in this style. So I’m going to stick with the low poly style.
Part of my plan for the low poly style has always been to leverage the Synty assets I have to create the levels. I’m starting to consider how I could use the character models from the asset packs too. The Santa model worked well when I used it for testing. If I can use those models as a base, and then customize them to better fit my friends, I think it might lead to some good results.
Day Sixteen
I like the idea of using the Synty assets for my character models, but I want to see what would be required to get all the models I need. I go through the all the character models in the Synty assets I already own, and the models in their asset packs on the Unity Asset Store. I take screenshots of the assets and start collaging parts together to make my friends. I make notes about which asset pack each of the pieces is coming from. There’s a lot of assets so it takes a while to go through everything, but by the end I’m feeling pretty good about what I can get done by combining the different assets.
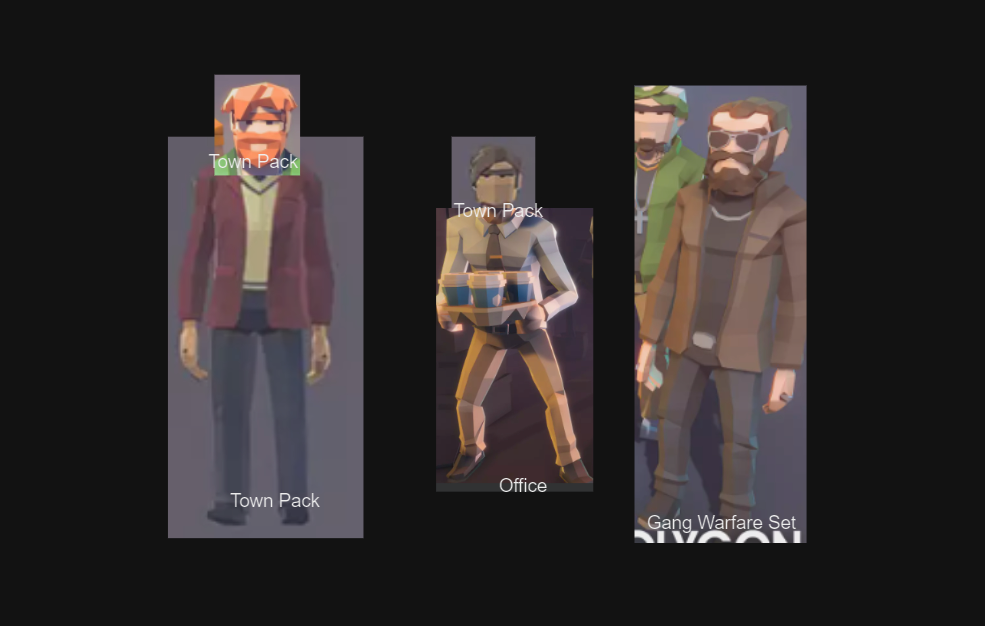
I try to leverage the asset packs I already own as much as possible. But in order to make all the models I want, I need lots of pieces from asset packs that I don’t currently own. Fortunately it’s Black Friday and flash sales are happening in the Unity Asset Store. I’m able to flag a couple of sets I’ll need to help me round out all the pieces I need to create my friends on sale. I also snag a particle FX package from Synty, and a tool to recolor 3D assets. I figure both will might come in handy.
Day Seventeen, Eighteen, & Nineteen
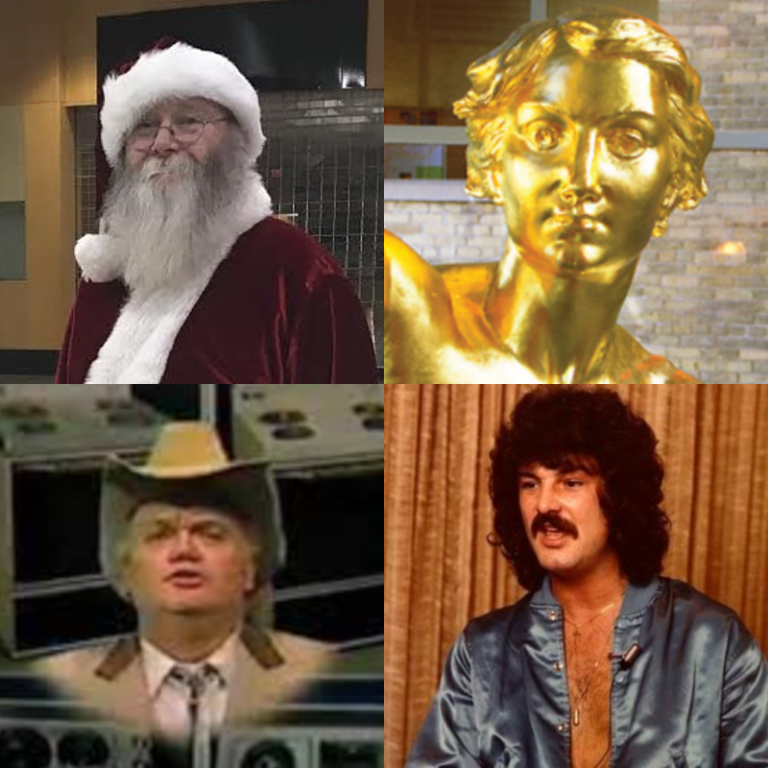
For my boss characters, I keep it to the Winnipeg theme. Firstly I’m going to keep the Santa character. I’m too in love with the idea of fighting a mall Santa, and it just feels like the appropriate touch to add to a game you’re giving as a Christmas gift. In one of the asset packs I bought, there is a character in nothing but his tighty-whities. So for another boss, I’m going to color that model gold and turn him into the Golden Boy, the iconic statue from the top of the Manitoba Legislature building. My next boss is based on Nick Hill, a local furniture salesman who for decades was featured in the tv commercials for his store. For my last boss there’s only one choice, Winnipeg’s musical ambassador, the 70’s legend himself, Burton Cummings.
Day Twenty
I’m back from the cabin with a set of models, and now I need to work on their colors. Some of the models will work with the colors that they already have, but I want to modify some hair and skin colors to get them looking like my friends. Plus I have some ideas for some custom textures I want to put on some of the models to really personalize them. I remember from my low poly course that there’s a way to set the colors on the faces of the model, but I’ve completely forgotten how that works. I go back and watch some of the old tutorial videos from my class and relearn how UV editing works. Since I pulled the models from a bunch of different asset sets, the first thing I have to do is get all my models using a common texture. This of course breaks a bunch of the current UV work on the models, because the vertexes are now mapped to nonsense in the common texture. After swapping to the common texture, there’s substantially more UV work to do than I originally thought. I start marking the seams on the models so that I can easily go back and modify colors to tweak looks as I iterate. Maybe that colorizing tool I bought won’t be that useful after all, since I can just make any modifications I need in Blender.
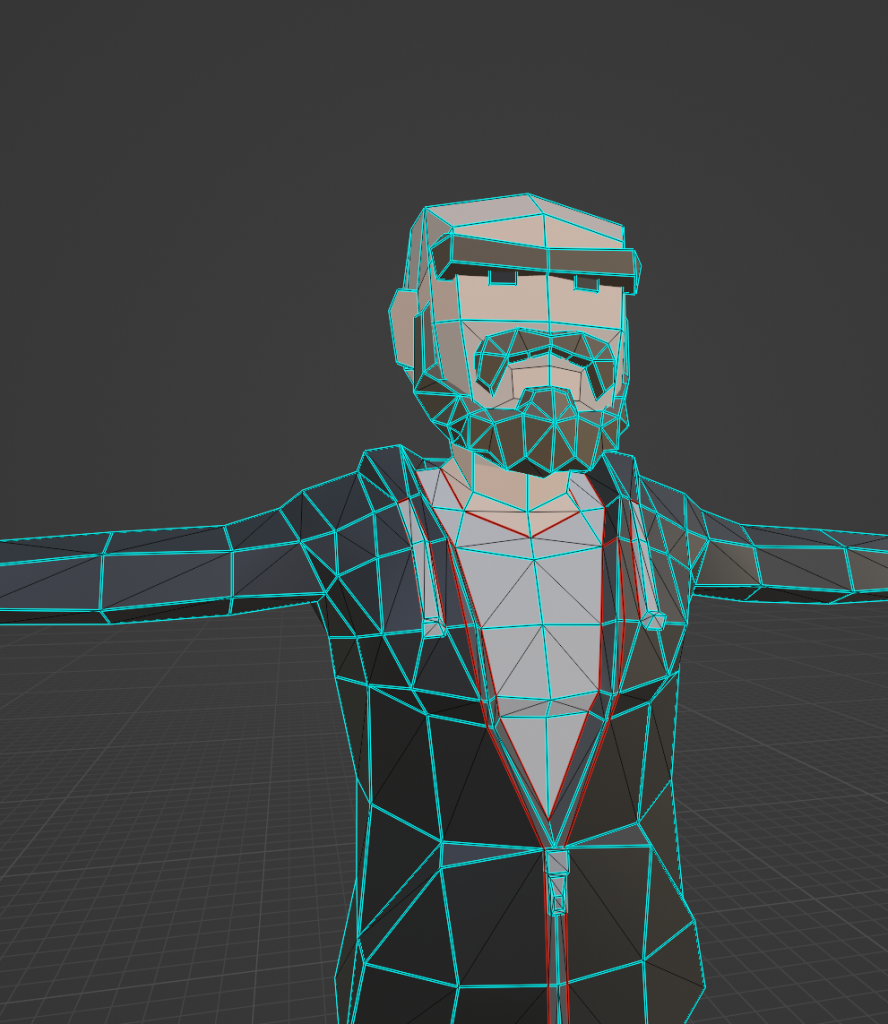
Once I have all the playable characters looking good enough for a first version, I make my first attempt at outputting the characters from Blender and getting them into the game. The FBX models I used from the asset packs were already rigged. But when I imported them into Blender, I must have done something wrong because the characters were just a messy ball of limbs that were all folded in on themselves. Since I’ve never done any rigging, the easiest way for me to solve that issue was to just delete the rigs. That let me work on the models, but now that I want to put them into the game, I’m going to need the rig I removed.
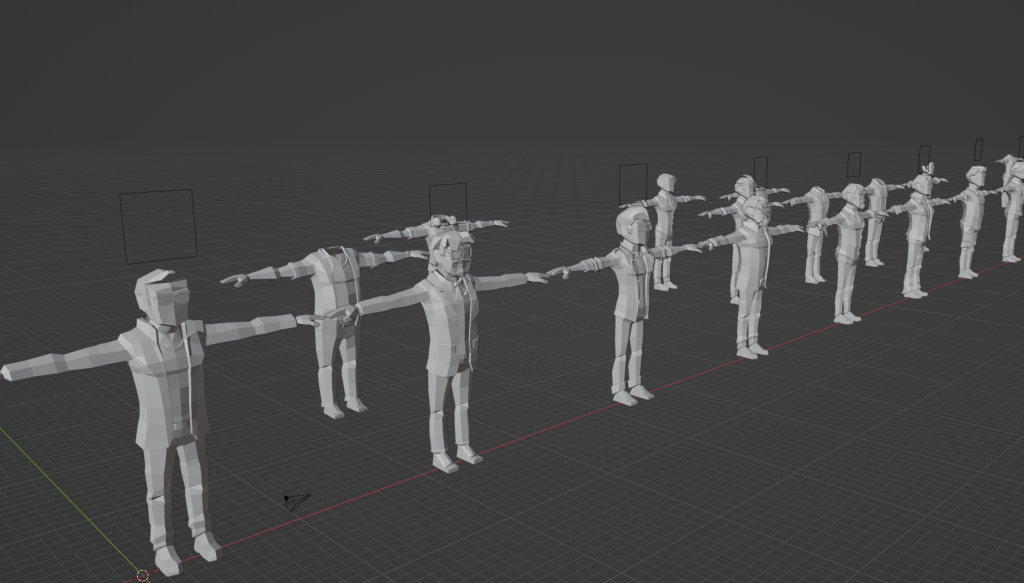
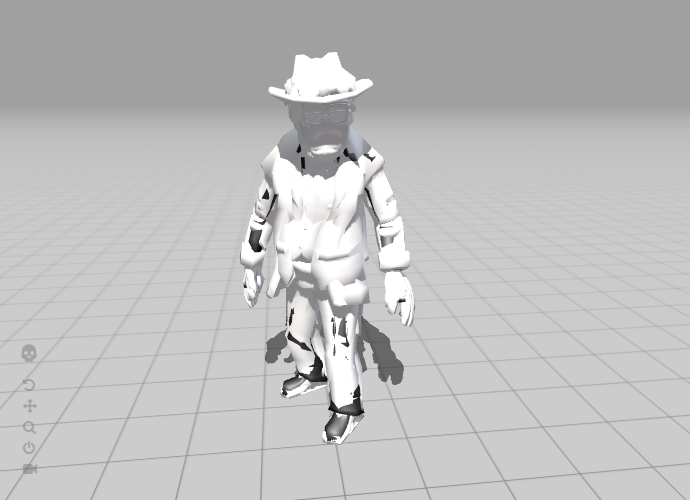
The simplest way to fix this is to export my model and import it into Mixamo. Their auto rigging tool is easy to use, and the results are pretty good. Best of all, I know the Mixamo rig is compatible with the the animations I already have. I’ve exported single models and run them through Mixamo before, but I’m wondering if there’s a way I can do all of the models at once. The character FBX files from the Synty asset packs have all the different character meshes in a single FBX, all hooked up to the same rig. So I attempt to follow that pattern. I copy all of my character models into a new Blender project, recenter them all at the world origin, and export them together as one FBX. I run that through Mixamo, but the results are not the best. You can’t distinguish between different layers in Mixamo, so all my models appear together on-top of each other. The rig Mixamo generates works for some of the meshes, but it’s not quite properly positioned for some of the other meshes. I’m feeling like this is not the correct approach.
Day Twenty-One
Instead of trying to do export all the meshes at once, I try exporting the models individually to run them through Mixamo. I get much better results. I run two of my models through Mixamo, import them into the game, and set them up with basic data you need to get a character working in UFE. I have my first fight between two of my custom characters in the game.
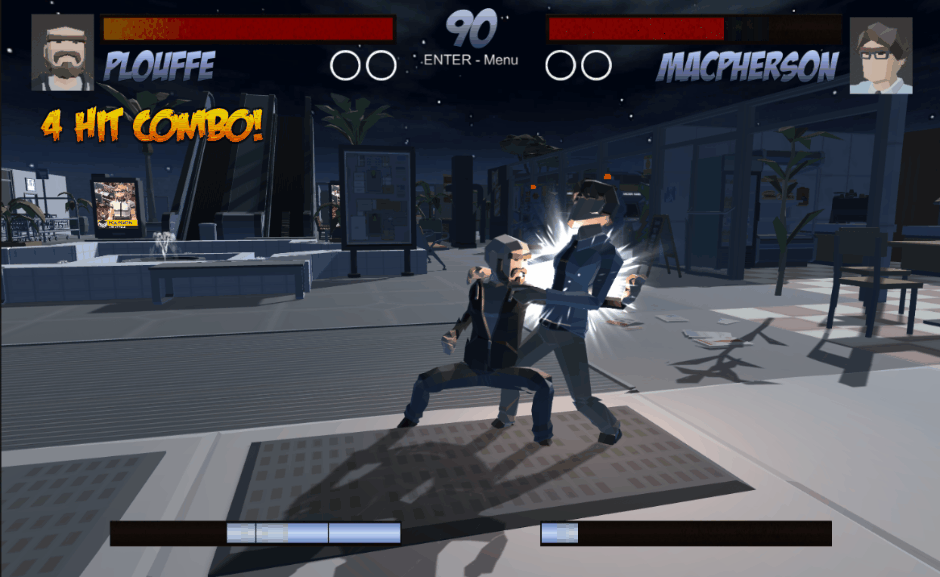
The results are pretty good, but I realize that to get even better results I’ll need to adjust the auto rigging done by Mixamo. While the rigging algorithm they use is impressive and works super well, some of the clothing on the characters is stretching and deforming in unrealistic ways. At this point I’m not sure how difficult that will be to adjust, but fortunately it’s more of a polish thing than a hard requirement. Even if I can’t find a way to adjust the rigs, this pipeline will work for getting my custom models into the engine.
As the week ends I’m feeling really good about my progress, but I’m also a little worried about the amount left to do. Specifically I’m worried about moves and attack animations. It’s a huge chunk of work, and still a huge unknown. UFE came with some attack animations, but if I use those same attack animations for everyone, the game is going to feel terrible. In order to make it feel like a real fighting game, the characters need to have variety and different fighting styles. That will require sourcing or generating a lot of different animations. How I’m going to do that is a vital question that I need to answer asap.
